Showing posts with label Aleene's Instant Decoupage. Show all posts

Tuesday, November 13, 2012

Aleene's Archive Decoupage Footstool


I so loved making this project!!!  (Looks like I made it way back in 1997!)  Find a paper print (napkins, gift wrap paper or a poster will do) and apply away.  Use your favorite high-quality acrylic paints to match your papers and this will be ready to accent your livingroom tonight.

Tuesday, November 06, 2012

Aleene's Vintage Decoupage for Your Bathroom

It's about time for all those visitors for the holidays and just in time are these suggestions to fresh-up your facilities. Use wrapping paper, napkins or a poster instead of the decoupage papers.  It's quick, easy and will be an expression of you!


Monday, September 15, 2008

Leaf Memory Box

Decoupage is my favorite - it's so easy and sooooo versatile. Use silk or collect real leaves on your walks. The Aleene's Instant Decoupage preserves the colors and keeps the leaves from becoming brittle.

Here's What You Need
Acrylic spray paint - your choice of colors
Paper mache box
Aleene's Instant Decoupage - Matte
Leaves - dried or silk
Foam brush

Here's What To Do
1. Spray paint box. Let dry.
2. Brush Instant Decoupage on back of one leaf. Place on box where desired. Brush a coat of Instant Decoupage over leaf. Repeat for all leaves.

Saturday, March 15, 2008

Shoe Art

It's a Shoe-In


Maybe my obsession with shoes isn't over. I was looking for something and ran across a lovely shoe stamp and found myself setting aside my chores for the day and indulging in my 1/2 hour of creativity for the day and it was marvelous!!!

Here's what I did ~
I stamped the shoe image on some tissue paper and cut it out.

I brushed some Aleene's® Instant Decoupage™ on the back of an acrylic rectangle, put my shoe in place, then brushed Instant Decoupage over the entire piece. While it was still wet, I sprinkled in some Tulip® Fashion Glitter™ for a touch of color. After it was dry, I turned it over and added some detailing with permanent pens.

I adhered some old looking paper to the back of the cardboard from the frame using Aleene's® Spray Adhesive™ (I just love the look of old stuff - can you tell?)

I glued the rectangle to a piece of old rust screen (love it!) with Aleene's® Original Tacky Glue,® then glued it to the frame backing. Four beads accented the corners.

Enjoy the rest of your weekend. I keep hearing a thunderstorm is coming.

Joan

Thursday, December 13, 2007

Gift Wrap Jewelry


(As a side note - I remember when my niece, Jenn Fee, now an actress, did this project on Aleene's Creative Living!)

Use holiday wrapping paper and make a great accent for your coat. This is a fun project for kids too!

What You Need
Aleene's® Instant Decoupage Sealer & Finish
Aleene's® Original Tacky Glue™
Gift wrap
Wax paper
Scissors
Scrap paper
Brush - optional
Pin back

How to Make It
1. Cover work area with wax paper. Cut out desired design from gift wrap. If design is very detailed, cut a free form area around design.
2. Cut five pieces of scrap paper slightly larger than gift wrap design.
3. Layer papers, beginning with one piece of paper and apply Instant Decoupage on one side. Instant Decoupage may be applied with a your finger or with a brush. Place this piece of paper, glue side down, on second piece of paper. Press out any air bubbles by rolling bottle over paper. Continue until you have layered all five pieces of paper. The more layers, the more solid the jewelry piece will be. Apply Instant Decoupage on top layer and place gift wrap design on layered papers. Let dry.
5. Cut around design.
6. Glue pin back on back of design.

Make It Yours! Tip
Use Christmas cards instead of gift wrap. Use as gift tags too!

Wrap It Up! Tip
If you're giving a gift of clothing - attach the pin on it and it will be an added surprise when the person opens up the gift!

Wednesday, December 12, 2007

Time Out Stool

What You Need
~ Aleene's® Instant Decoupage™ Sealer and Finish
~ Aleene's® Thick Designer Tacky Glue™
~ Tulip® 3D Fashion Paint™, colors to go with print
~ Wood stool
~ Poster or fabric
~ Sponge brush
~ Scissors
~ Chalk pencil

How to Make It
1. Basecoat wood pieces. Let dry.
2. Cut print to fit top of stool.
3. Apply Instant Decoupage to stool top where print will be placed.
4. Place print over Instant Decoupage. Smooth with your hands.
5. Brush Instant Decoupage over print. For a protective finish, brush Instant Decoupage over all wood pieces. Let dry.
6. Write desired words on stool using chalk pencil. Trace with 3D Paint. Let dry.
7. Glue stool pieces together with Thick Designer Tacky Glue.
Make It You! Tip
Choose a print that's so you! Add Tulip® Glam-It-Up!™ Iron-On Crystals™ for a sparkly touch.

Wrap It Up! Tip
This is another tricky gift to wrap. Add a large teddy to the seat and tie a big bow around it!

Sunday, December 09, 2007

Gift Idea / Outdoor Decorating
Paper Tablecloth Applique Chair
What You Need
Aleene’s® Instant Decoupage™ Sealer and Finish
Paper tablecloth with plastic backing removed
Disposable dish or cut
Paintbrush, 1” wide
Plastic chair
Waterproof sealer

How to Make It
Tear paper tablecloth in irregular shapes about 2” square. NOTE: Pieces can be larger or smaller depending on size of chair.
Brush Instant Decoupage on a small portion of chair. Lay tablecloth pieces on Instant Decoupage. Continue until chair is covered.
Brush Instant Decoupage over entire chair.
Spray with water proof sealer.

Make It Yours! Tip
Personalize each chair with the person’s name, using Tulip® 3D Fashion Paint™.

Wrap It Up! Tip
Wrap something this big!!! Yikes! Place it in your storage building and place the bow on the door.

Saturday, December 08, 2007


Gift / Get Organized Idea
Decoupage File Cabinet
File In Style

Let your creativity spill into your office - decoupage a poster or fabric onto an inexpensive file cabinet.

What You Need
Tulip® Soft Fabric Paint™, colors to coordinate with poster
Aleene’s® Instant Decoupage™ Sealer & Finish
Poster large enough to fit front of file cabinet
Scissors
File cabinet
Iron
Foam brush
Sponge

How to Make It
Cut poster to fit fronts of drawers.
Brush Instant Decoupage on front of one drawer.
Place poster piece on Instant Decoupage. Smooth with your hands. Brush Instant Decoupage over poster. If air bubbles appear, poke with pin and smooth by rubbing finger over it and applying more Instant Decoupage. Repeat for other drawer.
Sponge paint sides and top of file cabinet with Soft Paints. Let dry.
Brush Instant Decoupage over paint to protect surfaces.

Make It Yours! Tip
Posters are available in all kinds of different motifs – find one that is just perfect for you or the person you’re giving the file cabinet to.

Wrap It Up! Tip
Fill the file cabinet with file folders, labels, pens, pencils and all kinds of different organizational finds from your local office supply store. Add a bow to the top of the file cabinet and let it speak for itself!

Friday, December 07, 2007

Gift Idea
Napkin Appliqué Suitcase

Travel in style this holiday season AND your suitcase will standout from the crowd at baggage claim!

What You Need
Aleene’s® Thick Designer Tacky Glue™
Aleene’s® Instant Decoupage Sealer and Finish™
Tissue paper or napkin with print
Paintbrush
Scissors
Suitcase
Embellishments
Glitter, color to coordinate with design

How to Make It
Pour some Instant Decoupage on plate. Mix in a small amount of glitter. Lightly brush over suitcase. Let dry.
Cut out designs from tissue paper or napkin. NOTE: If using napkins, remove backing plys and only use printed ply.
Brush Instant Decoupage where design will be placed.
Place design over Instant Decoupage.
Brush Instant Decoupage over design from center out to edges.
Continue until desired look is achieved. Let dry.
Glue on embellishments with Thick Designer Tacky Glue.

Make It Yours! Tip
Find napkins or tissue with a travel theme or the person’s favorite flowers or, or, or…there are soooo many possibilities.

Wrap It Up! Tip
Place a large bow on the suitcase and put another gift inside it – maybe tickets for a trip, a gift certificate for a weekend getaway complete with a bottle of champagne…

Thursday, November 16, 2006

Video Taping and a Photoshoot!

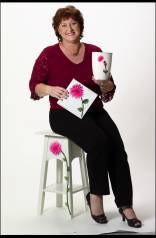
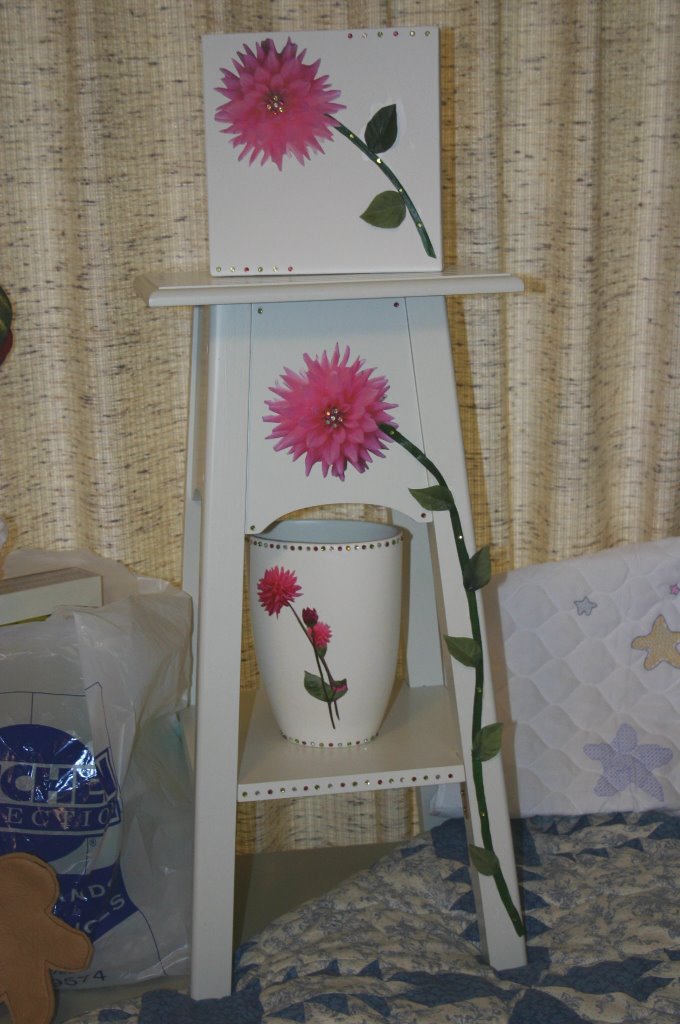
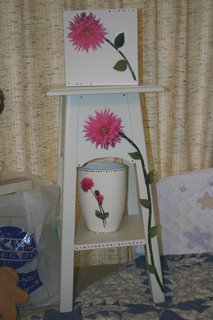
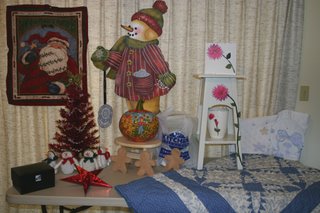
It's been an exciting week! I was photographed with my decoupage projects for an ad that will be featured in a craft trade magazine in January. I love decoupage - it's so easy and the results are fantastic! Here's how I created these floral projects:

  • I photocopied the picture of a flower I took on my vacation last month.
  • Cut it out.
  • I applied Aleene's Instant Decoupage on my base piece and on the back of the photocopy. I placed the photocopy on the base piece and brushed Instant Decoupage it.
  • I wanted some dimension, so I attached silk leaves to the pieces by dipping the end of the leaf in the Instant Decoupage and placed it along the stems.
  • I wanted to add a touch of sparkle, so I attached Tulip Glam-It-Up! Iron-On Crystals in the flower centers and along the stems.

I love being able to show off the photos from my vacation instead of sticking them in a photo album!

Video Taping

I had so much fun this afternoon taping a Bread Dough How-To Video featuring Aleene's Original Tacky Glue with Alexis, a designer I work with. We laughed so hard watching our play back. It needs to be edited (just a little) and will be at http://www.duncancrafts.com/ under the Education section. I'll let you know when it's available.

If you haven't tried bread dough in a while, Alexis shows some new ways to mix the dough and also includes how to make a dough with cornstarch.

Upward and onward...

Joan

Sunday, November 05, 2006

WOW!!!
Time flies when you're having fun!

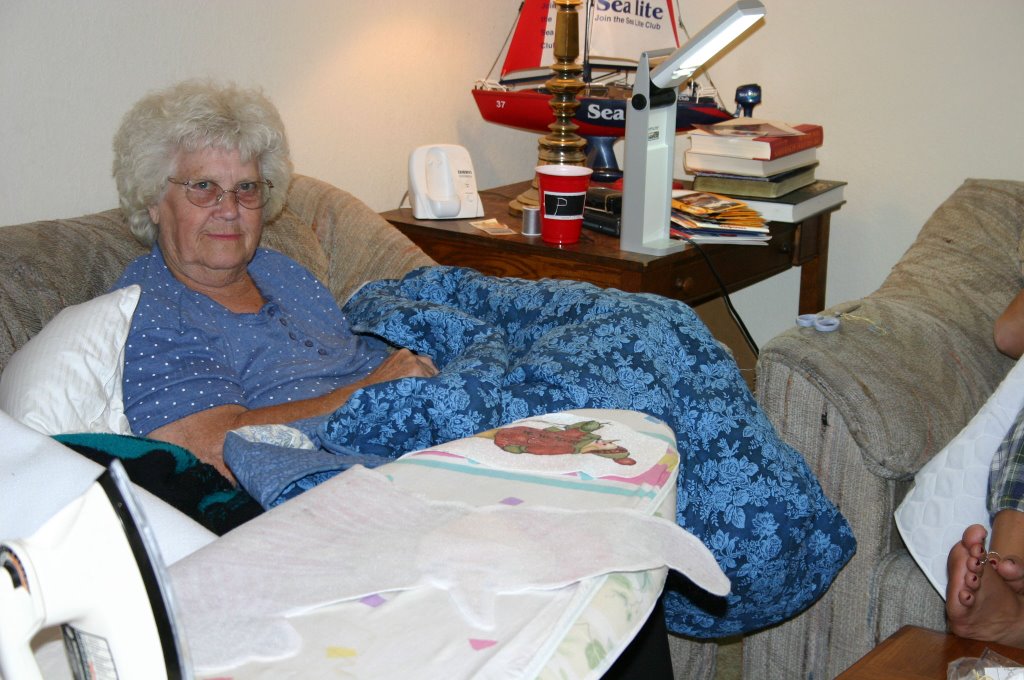
Seems like it was just Friday a few minutes ago! My mom, sister-in-law and I loaded up my car and headed to our WOW (Women Only Weekend!).

We got sidetracked on our way there because I got a last minute assignment on Friday afternoon to make a project using Aleene's Instant Decoupage and Tulip Iron-On Crystals - my two favorite products! We stopped at a craft store on our way over and found some pieces to use for my projects. We had a great time getting the after Halloween bargains and finding some holiday gifts.

We always do marathon crafting and this weekend was no exception - bedtime is whenever we feel like it and for some of us that's into the wee hours of the morning.
Saturday was to be our PJ Day where we stay in our jammies all day and be creative. We got sidetracked AGAIN! when we happened by a local Hallmark store on Friday night and noticed they were having their Holiday Open House at 9 the next morning. We hesitantly got out of our jammies and into street clothes to be there at 9. Well, that took longer than we expected (but we got some great gifts) and then we had to hit the women's clothing store at the local outlet - there went another hour! Finally, back in our jammies at noon, we set to crafting!

My mom worked on binding a quilt she's worked on for quite awhile and SHE FINISHED IT! Awesome job Mom! She also worked on a fun advent calendar for my nephews.

Nicki, my sister-in-law, being a scrapbooker sorted photos (it was fun seeing old pictures of my brother and his family), cut and sewed felt gingerbread people for the kid's to decorate at an upcoming Christmas party (I need to remember to get her some Tulip 3D Fashion Paint to use at the party!) She also started a cross-stitch baby blanket for her son.

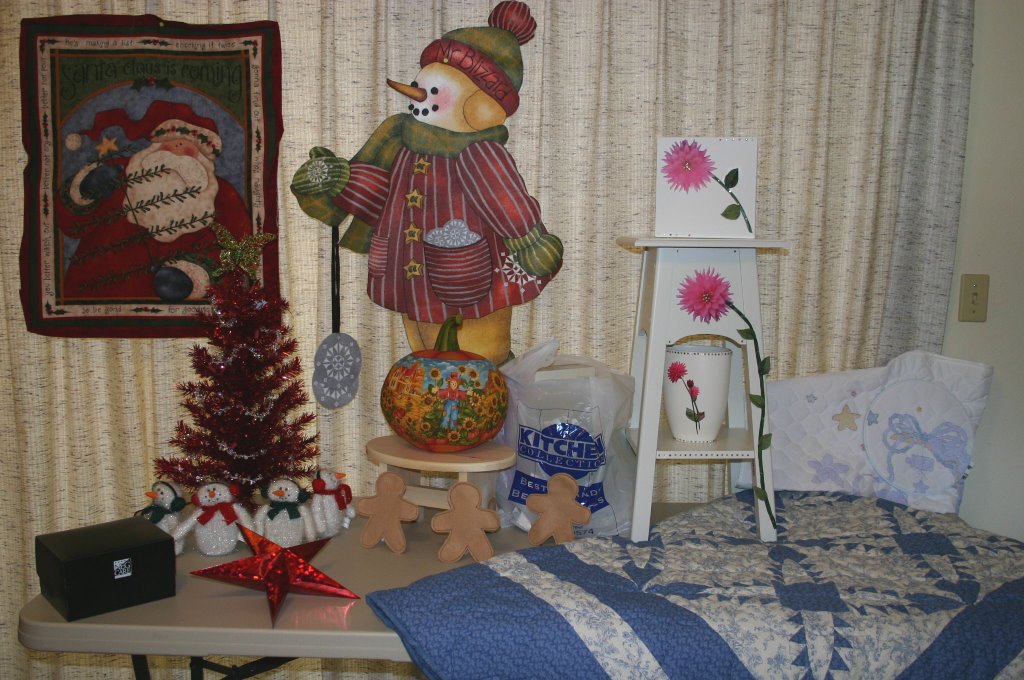
My sister, Nancy, worked on a very cute snowman door hanging. She finished a 3D pumpkin with beautiful scenes on it.

And me. I worked on my decoupage and crystal project - I used photocopies of pictures from my vacation last month to decoupage on to a vase, side table and canvas. I added the beautiful crystals for that special touch. My mind was whirling with ideas for future projects too! I love decoupage because it's so fast and the results are fabulous!

Still more unpacking to do, so I'd better get busy!

Have a great week!
Joan

Thursday, September 14, 2006

Decoupage Fun!

I had a monumental high school class reunion last year and we had so much fun we decided to have one EVERY year!

The committee asked me to make the table decorations for this year's party and, of course, I had to stay within a very limited budget. I love a good challenge, so I was quick to accept.

I set my brain in crafting gear and came up with this quick and easy decoupage project.

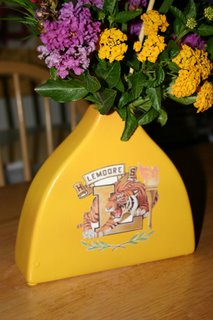
~ I found cool vases at my local dollar store and spray painted them one of my school colors

~ Downloaded my high school logo from the website and printed them off

~ Decoupaged the logo on the vases using Aleene's Instant Decoupage

~ Popped in some silk flowers

Someone commented that it really made the party special. Don't you just love it when your projects are appreciated?